Home Page

Home Page

Sunday, April 7, 2013

Walmart Bookshelf Makeover

Since I have been able to move my books upstairs into my new library (yay!), I had the old bookshelves that they were on previously and wasn't quite sure what to do with them.  After some rearranging in the living room, I decided that I could use them to help store all the toys. I moved them to the opposite corner of the room and thought the functionality of the shelves was great! However, the look? Not so much.


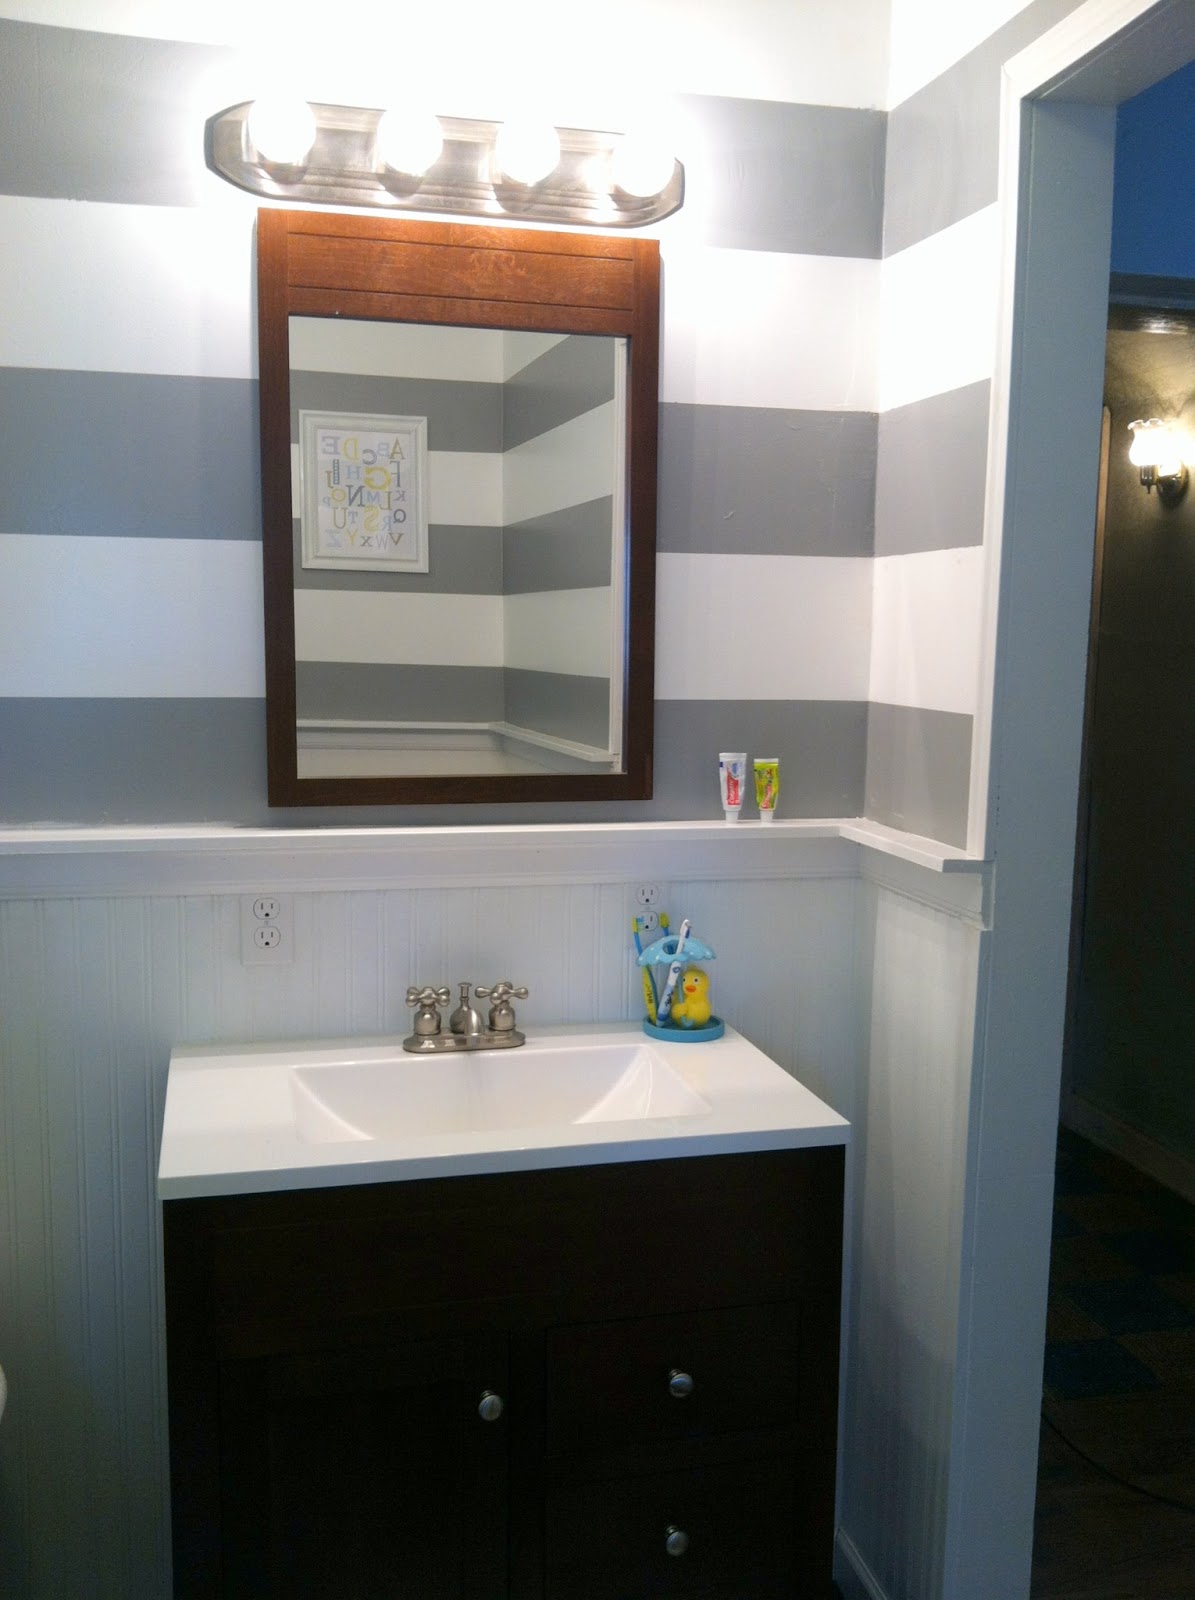
See how the color of the "wood" doesn't match the rest of the room? *shudder* I cannot handle that.

 I immediately knew that I needed to paint them, but I wasn't sure on the color scheme.  I remembered that I still had some of the brown left from the trim that I put up in the living room.  You can see a picture of the brown trim in my post about the DIY Roman Shades.  I thought the brown might look good with a blue painted in the back of the shelves to match the drawer shelves that I have hanging on the wall (by the way, those are the drawers out of my old kitchen.  I just painted them and screwed them to the wall!).  I called my sister, because I always consult with her before starting a project.  Having a second opinion ALWAYS helps.  She liked the color scheme and suggested doing stencils on the back with the blue.  Brilliant! I couldn't decide on a stencil that I liked though.  So then I thought, "Hey! Why don't I cut some vinyl with my super awesome Silhouette Cameo?" And that, my friends, is what I did.


I found these adorable silhouettes in the design library and knew that this is what I needed to cut out!

I put a length of base moulding along the bottom to make the two shelves look like one.  Then I (the husband) screwed the two shelves together at the top to make it more sturdy.
 
I was so happy that there was enough variety to have a different cut out on each shelf.  If you have a Silhouette cutter and are wondering where I found these designs the artist is Hero Arts and there are so many more designs by this artist that I love. 
Now, back to the colors.  Don't they look great?  I almost didn't want to put the toys back on the shelves because I liked it just the way it was!
I used the Bullseye 1-2-3 Primer.  When I bought it, I had the hardware store tint it to a grey color.  This is good for when you are painting with darker colors, because then you don't have to do as many coats to cover up the gleaming white :).  I did rough up the shelves with some sandpaper first to help the paint stick and it seems to have worked.
Next I did a few coats of the brown and then did some polyurethane over the top of it to make it more durable and less likely to scratch and peel.  My boys aren't exactly soft when they are getting their toys down and putting them away, so this was a necessary step.  I also kind of like the way it makes the shelves shine and reflect the pictures.
 
 
How much better is this?!
This is the final product.  Doesn't it match the room so much better? I no longer cringe when I look at that area of the room.  The kids have easy access to the toys and they love looking at the pictures hidden behind them.  Ahh..... I love pretty things.


Friday, March 22, 2013

Boys Bathroom


It is finally done! I am so excited to share this project.  I love, love, love the finished result.  Seriously.  I love it. So, I don't know if I ever mentioned that when we moved into this house, the upstairs had two rooms that were just the frame of the house, no walls, no nothing.  These are the rooms that we decided to tackle first (when we got to the upstairs, that is).  One of these rooms is now the Bathroom/Library (pics of the library to come later).  The fact that I am mentioning the unfinished rooms is because the house is over 100 years old, so I find it rather odd that it was still "under construction". 

We only had one bathroom and we knew that at some point that was no longer going to fly, especially when the babies started coming.  So, the idea of building one upstairs came to pass.  I had many, many ideas on how I wanted it to be and after a few arguments with the Husb and me changing my mind 50+ times, we finally got it figured out.  So, without further ado . . . . Here we go!

 
 These are some of the pictures after we got the sheetrock up and mudded.  Not too exciting, but necessary, nonetheless. 


After we got the wall and ceiling painted white, we did the stripes.  How cute are they?

I learned how to do these crisp stripes from this website http://theinspiredroom.net/2012/01/05/painting-stripes/  via Pinterest.
Not sure if you noticed, but the window was added after the painting was done.  It took me a while to convince the Husb that it was needed.  You would think for a Volunteer Firefighter, he would not have fought me so much on the safety issue alone.  I am pretty sure he just didn't want to do it, so he came up with as many reasons not to as he could.  I am quite persuasive though . . . and I can throw a serious fit! ;) Joking, of course.
I got the shower curtain from Target. 
It was EXACTLY the color scheme I was searching for, so
 I was super excited.
The picture doesn't capture the whole thing, but I
got the little bench from IKEA. I love the shelf
underneath for extra storage.

 
The vanity and mirror are from Home Depot, as
well as the lighting.  The toothbrush holder and
rug are part of the same collection as the shower
curtain.

I scored the tub off of our local online Classifieds (KSL) for $100.  How awesome is that?!

I got these cheap frames from Family Dollar.  I thought the style was cute, the color . . . not so much. So I painted them.

This is the frames after I painted them and added the prints that I got from Gus and Lula , an adorable print shop on Etsy. 


This print is also from Gus and Lula and the frame is another cheap one from Family Dollar that I painted.

 Well, what do you think?  Do you love it as much as I do?